7 Steps for Setting Up Files for Problem-Free FDM 3D Printing
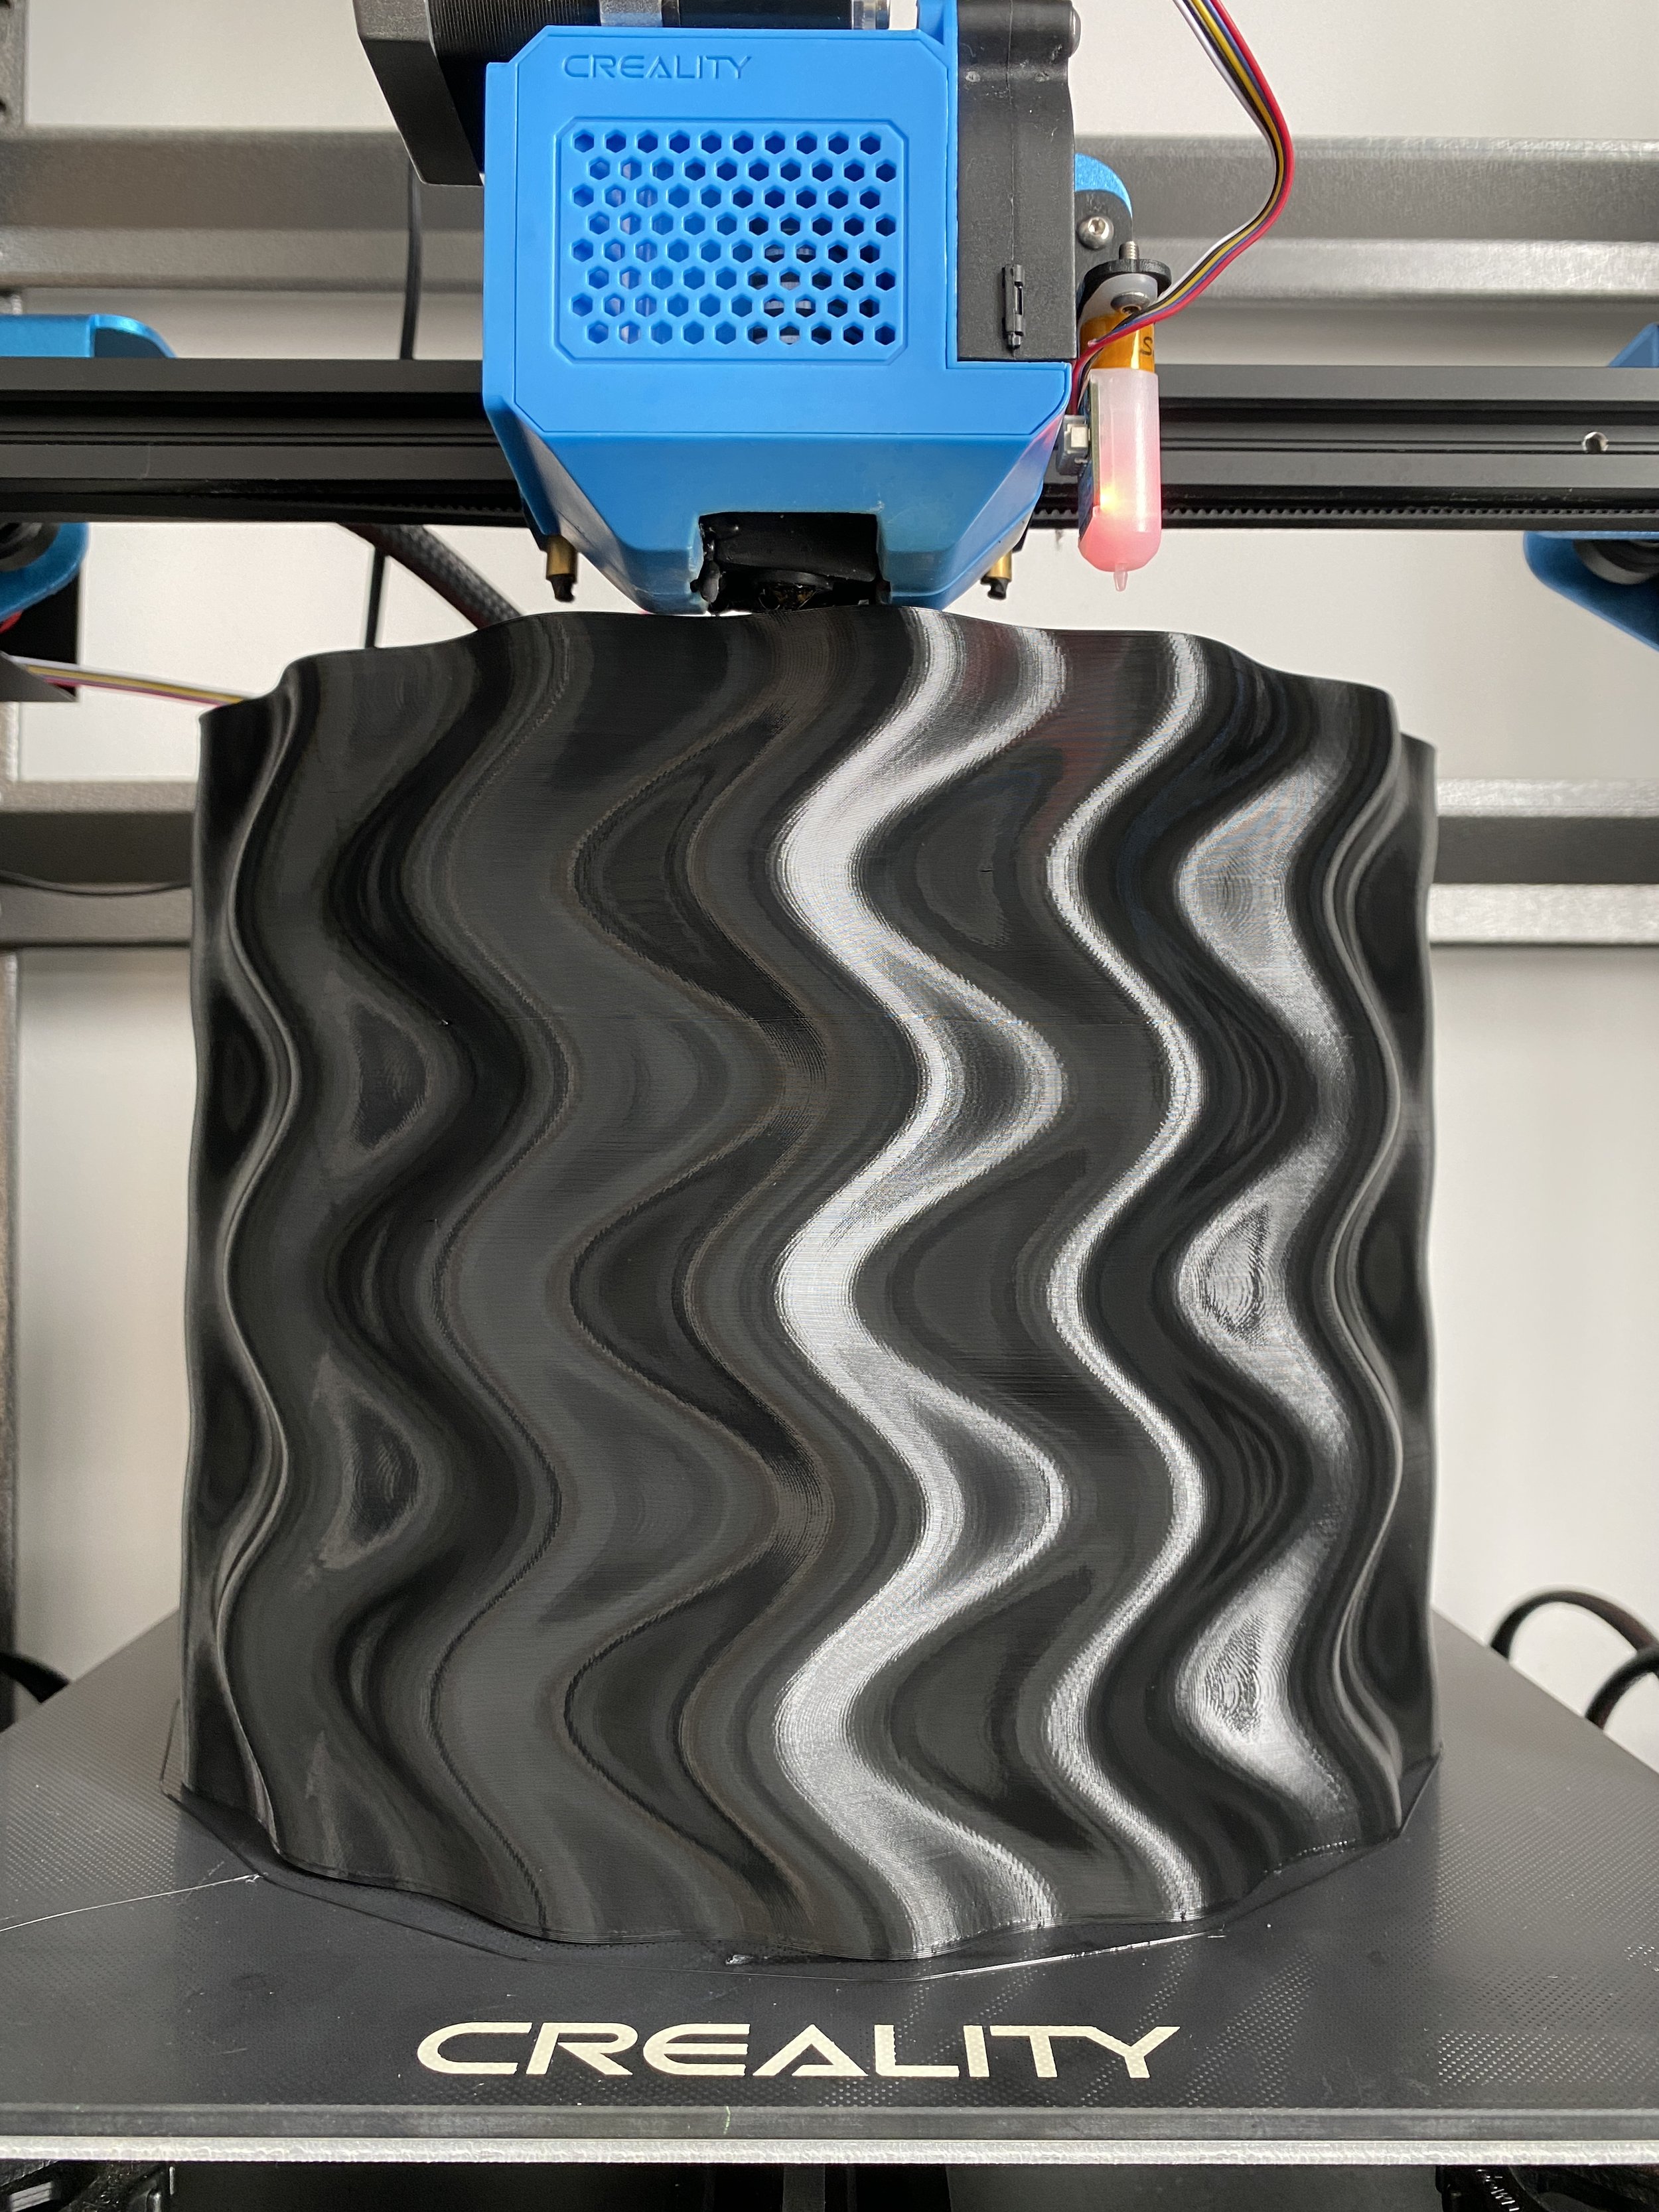
FDM/FFF 3D printer completing a 3D print in PLA plastic
So you finished 3D modeling your project on your preferred CAD (Computer Aided Design) software and now you want to 3D print it. Before you can begin 3D printing, it is important to optimize your files and run through a few additional steps to avoid any problems during the printing process. This print guide will help you properly optimize and prepare your digital files prior to starting your prints.
Why do I need to optimize my files?
Can’t I just export my file and begin printing right away? Technically yes, but without optimization you are almost guaranteed to run into issues while printing. You may end up with very poor quality print, the print could fail halfway through or even worse, you could cause irreparable damage to your 3D printer.
Steps for setting up your files
EXPORT CORRECT FILE FORMAT: The first step is to export your file to the correct file format for 3D printing. STL and OBJ are the preferred formats for FDM/FFF printing.
CHECK PRINTER AND MATERIAL SPECIFICATIONS: Make sure to check that your model follows the specifications of the printer you’re using. Your part must not exceed the size of the printer bed and must adhere to the dimensional recommendations from the manufacturer.
NOTE: Printer specifications include recommended minimum wall thickness, escape hole sizes, draft angles, thickness of details, and other print tolerances all of which can be found on the printer manufacturer’s website or in the user’s manual. If you are using a 3D printing service, you can typically request material data sheets or printing guidelines.
CHECK THAT PARTS ARE CORRECT: While exporting files from your preferred CAD program, always remember to separate multiple parts into individual files. Do not export files with nested blocks, groups and stray objects. Make sure to delete any extraneous pieces from your file, such as an external camera or light. Make sure each part is reading as a single shell. It is also recommended to convert your model units into millimeters to support confusion-free scaling and model placement.
DETECT AND REPAIR ERRORS: In all likelihood there will be errors in your file(s) that may arise either during the initial 3D modelling or while exporting. But fret not! There are powerful softwares available that can easily detect problems in your file(s). They also have functions that can fix most errors. Autodesk's Netfabb is recommended for checking for and repairing errors in your file.
NOTE: Do not forget to save your file in either the .stl or .obj file formats after the file has been checked for errors and fixed using your preferred file repair software.
SLICE FILE: The file can now be sliced in your preferred slicing software. In the slicing software, you can input your desired print quality, infill density, support material preferences, scaling and model placement prior to exporting it as a g-code. If you are using a printing service, they will usually take care of this for you.
EXPORT AND TRANSFER G-CODE: Next step is to save the g-code and send it to the printer. Most likely, you will be exporting the g-code onto an SD card and inserting the card into the printer. Some printers allow you to connect wirelessly or via a usb cable to transfer your g-code. If the file does not appear in the printer queue, double check that the g-code exported properly and that the part file was completely sliced.
PRINT: The printer will read the g-code and bring your model to life, VOILA! You have successfully 3D printed your file.
Need more help getting your files set up and/or printed? Reach out to info@jett3d.com and we’ll connect you with one of our production professionals.

