Demystifying 3D Printing Pricing: 5 Factors and How to Manage Them
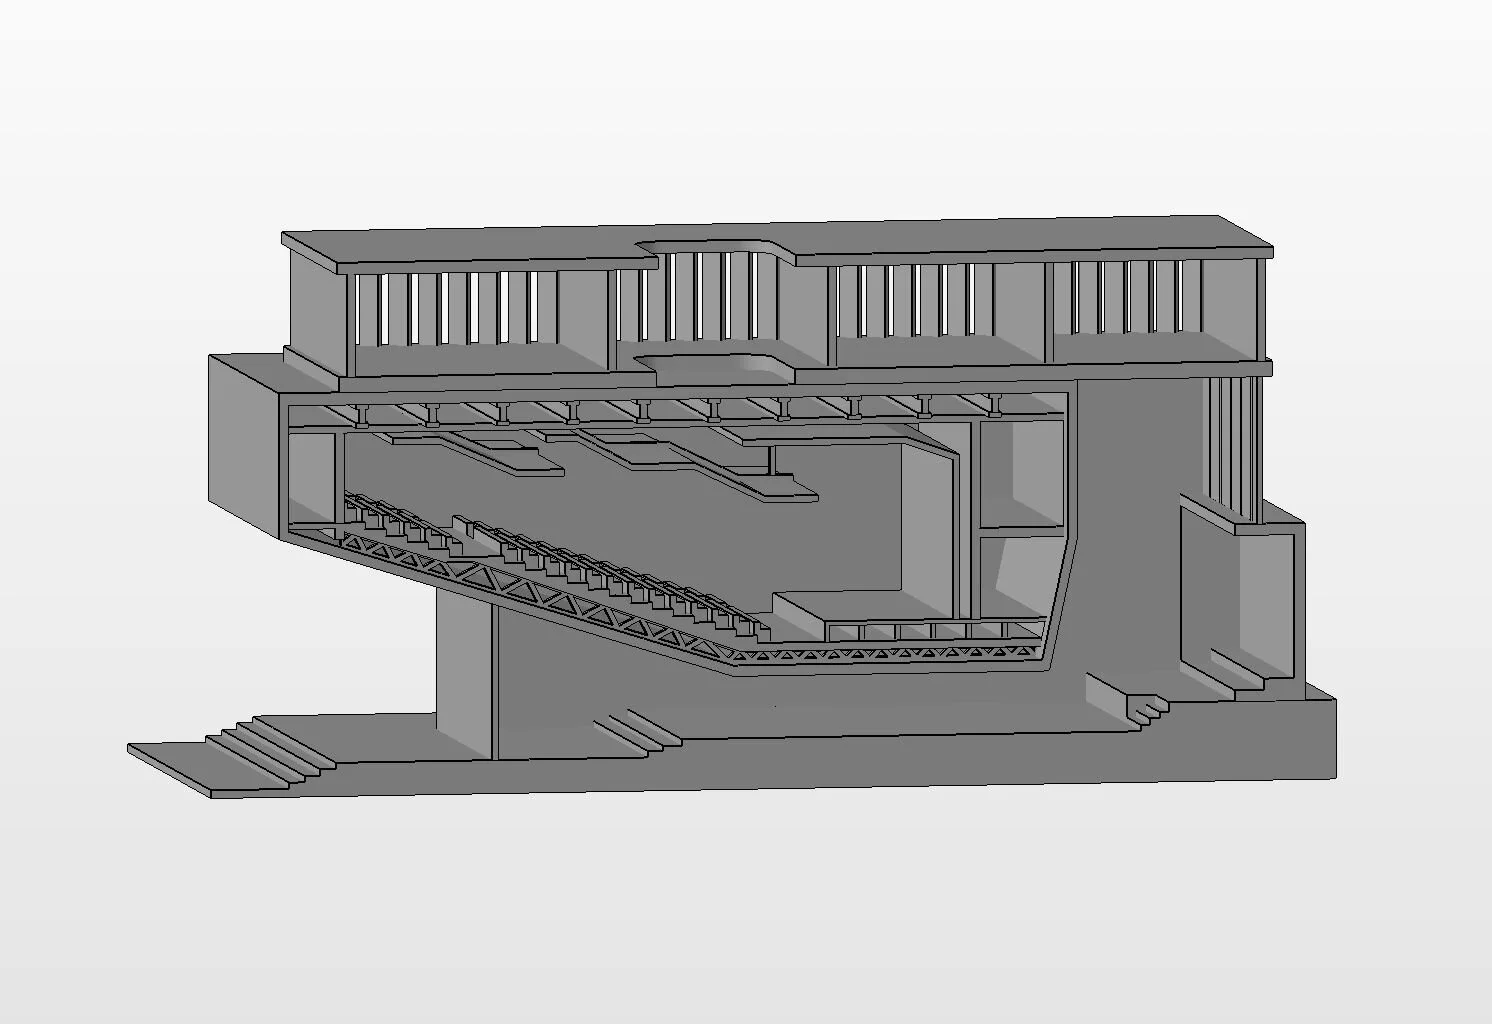
Digital 3D model showing hollowed out internal structure that makes printing cheaper and faster
If you’ve ever inquired about how much it would cost to 3D print a part, you know that it can be difficult to predict what you’ll be quoted. That’s because there are several factors that go into determining the price, some of which have a small impact and others that have a bigger impact. Here are the top five factors that influence price, as well as suggestions for how to minimize them.
Time spent on file design and modification
To be able to print a part, there first needs to be a 3D printable digital file available. A native CAD file is typically exported as a .STL or .OBJ file. Developing this file can easily be the most expensive part of 3D printing, especially if it’s a prototype being iterated on. If you yourself aren’t a digital designer, you’ll likely need to hire someone to create the file for you. Most designers charge by the hour and will range in price depending on their area of expertise and tenure.
Once you have the file, a 3D printing production manager will review it for printability and may recommend additional edits. For example, your file may require thickening of certain details, splitting to fit the print bed, or removal of parts that aren’t printable. The more iterations needed, the higher the cost.
Ways to cut costs:
Be familiar with the type of printer and material you’re using so that your file can be designed for its specs. If your design isn’t compatible with the printing method, you’ll end up having to spend more time and money fixing the file. This post covers some tips for modeling a part to print on an FDM printer.
Have your idea fleshed out ahead of time and provide a comprehensive sketch with dimensions. The more information you can give your designer upfront, the less time they will have to spend designing and iterating.
Work with a freelancer. You can find excellent freelancers on sites such as fiverr and upwork that typically charge lower hourly rates than product design shops or engineering firms. This is only advisable for simple parts that do not require expertise in a specific area.
Work with a designer who is familiar with 3D printing. There are many people who can design phenomenal digital files, but if they’re not familiar with 3D printing they may design something that’s not printable or requires excessive changes/repairs to become printable.
The printing material used
The number of materials you can print in grows considerably each year. There are thousands of materials available today, ranging from plastics, to metals, to biomaterials, and everything in between. As one might expect, the cost of printing varies greatly depending on the material. This is influenced by things such as the rarity of the material, the complexity of manufacturing the material, and the type of printer used.
It is important to know which material(s) you need for your part(s). Using the wrong material could lead to unnecessary reprints, or spending too much money on an initial print. A more expensive material is not necessarily a better choice for your part.
Ways to cut costs:
Know the working conditions your part will need to withstand. Will it need to be water-resistant, withstand high temperatures, or hold up to modifications made by tools? All of these factors, plus many others, will influence the type of material that will give you the best value. Most materials have data sheets that provide property information -- you can search online for them or ask your 3D printing partner.
Select common materials such as PLA or PETG if possible. These are widely available and cost-effective materials that can work for most models. Note that your file may need to be simplified to use this printing method.
Design for the material you are printing in. Knowing design guidelines ahead of time for your chosen material will save time and money.
The size of the part (volume and area)
Once you have chosen the print material, your part’s dimensions and specifications will then be entered into the calculator for that material. The calculator will likely assess and price your part based on its size -- and the best way to define size is usually surface area and volume.
The reason both surface area and volume are used is that you can have a part with a relatively high volume and small surface area (e.g., a simple cube) or a part with a low volume and large surface area (e.g., a detailed action figure). Accounting for both metrics ensures that your printing partner can appropriately assess the amount of material that will be used in the print, how long it will take to print, and how long it will take post-process.
Ways to cut costs:
If the part and material allow for it, hollow your part. A part printed in solid material will have a significantly higher volume than a hollow or partially hollowed one. Your 3D printing partner can help advise on hollowing, and can make the file adjustments (possibly for a fee).
The area of a part can be excessively large if it contains a lot of small details and designs, such as text or patterns. If you want to save money and don’t need this level of detail, consider removing it.
For large parts, split your model to fit a standard desktop 3D printer. This can significantly reduce costs if you do not have access to an industrial printer.
The quantity of parts
As with any other manufacturing, bulk pricing applies to 3D printing too. While 3D printing may not be able to beat some forms of traditional manufacturing on price per part, it can have dramatically lower start-up costs. Start-up cost for injection molding, for example, can be very expensive (and slow) due to the mold making process.
Examples of 3D printing processes that can be very advantageous for someone looking to print in bulk are material jetting and binder jetting. The start-up costs for these processes are relatively high for 3D printing, but still much lower than traditional injection molding. So while it may be costly to print a small quantity of parts using these processes, the unit price would drop significantly if you were to do volume production because the start-up costs would be distributed across more parts.
Ways to cut costs:
If you’re confident about your design, consider printing multiple at once instead of one at a time. Of course, this isn’t possible for all parts, but if it makes sense for you it will likely save you significant printing costs over time.
See if your 3D printing partner can add your part(s) to an existing build. This may help reduce your start-up costs, however it will only be possible if your parts are being printed with very similar specs as another order.
Production lead times
Most 3D printing companies offer various lead times ranging from a standard timeline to same-day production. Lead times are determined by the size of the part, the quantity, the material, and how busy the facility is at the time. If you need your part(s) ASAP, you’re likely going to have to pay a premium for the sped-up production.
Ways to cut costs:
If possible, wait a few days for your parts. Some companies will offer a discount if you’re willing to wait longer for your parts to be printed.
Make sure your file is in good shape before you send it. The less work the production team has to do on your file, the more money you can save and the faster you can get it printed.
Reach out to us if you want to learn more about how you can possibly optimize your parts and printing process to save money.