Proof of Concept vs. Prototype vs. Minimum Viable Product: What’s the Difference?
A selection of 3D printed proofs of concept, prototypes, and minimum-viable products
Anyone who is creating a physical or digital product should be familiar with all three stages of development. Each provides a distinct form of value in the product development lifecycle and it’s important to know when you should focus on one versus the others. One of the most effective ways to create and iterate hardware models is through 3D printing, which is what we at Jett 3D and this article focuses on.
Proof of Concept (PoC)
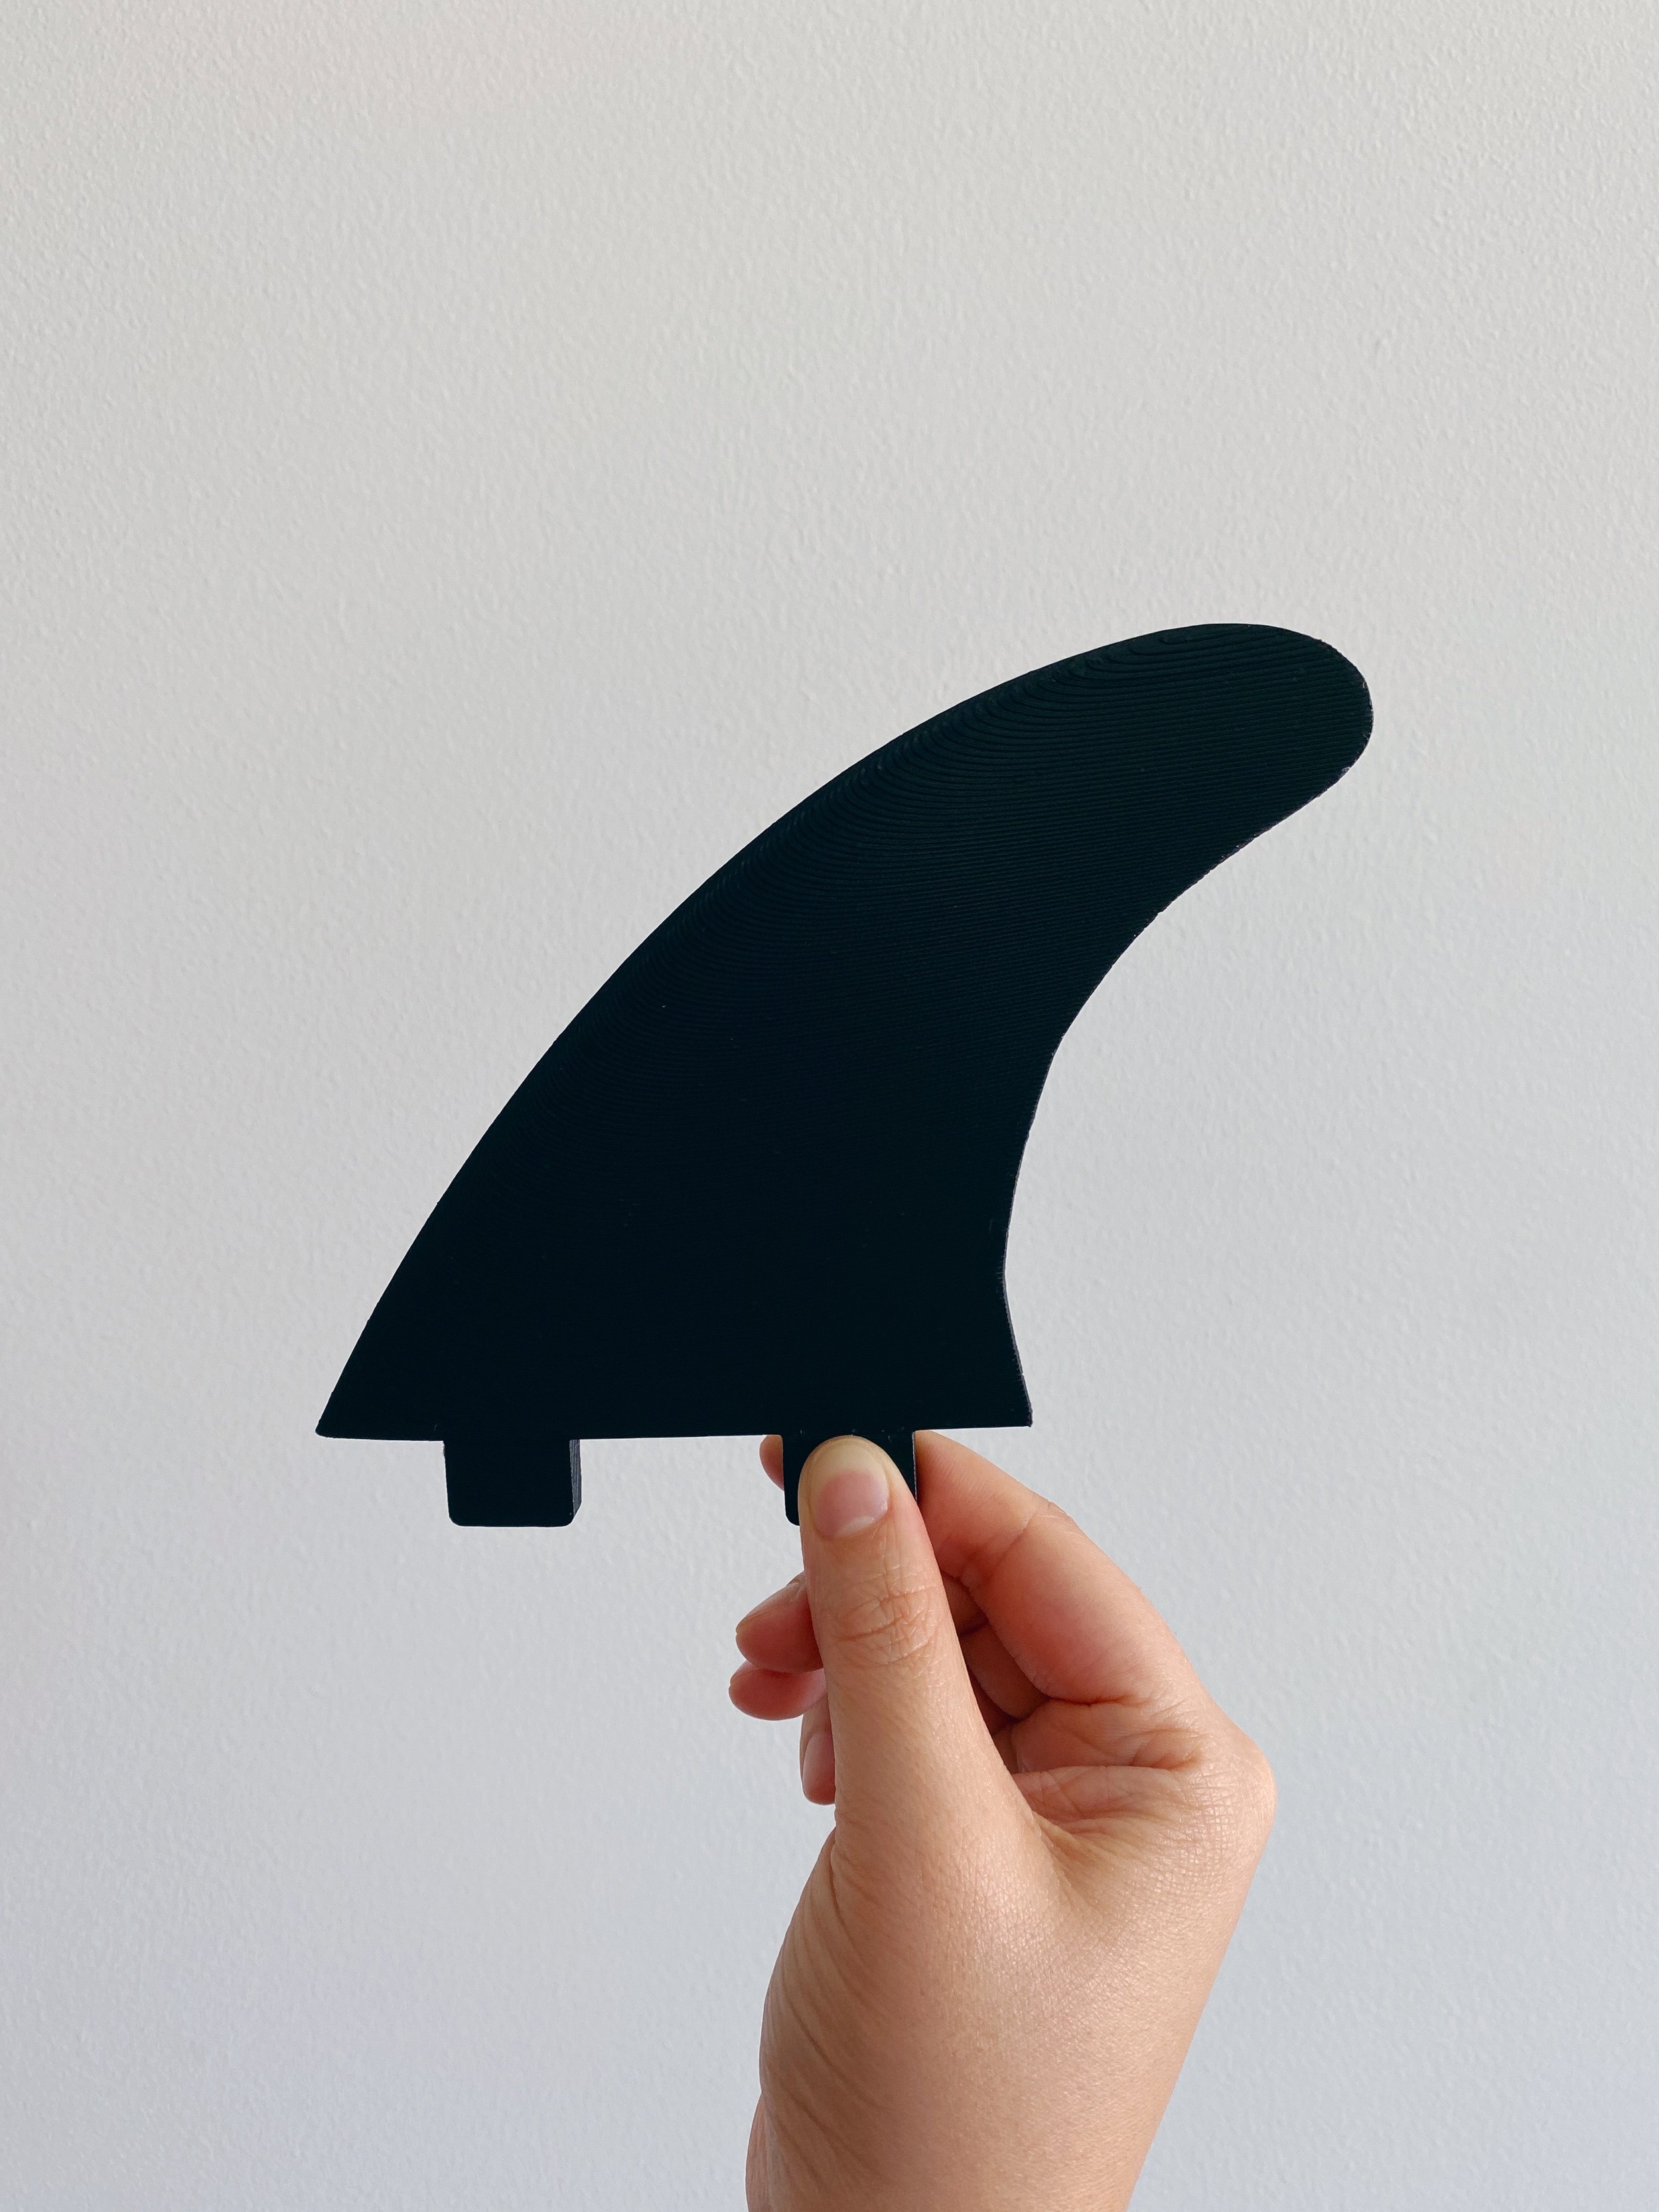
Surfboard fin PoC 3D printed using an HP MJF printer in PA11 nylon and dyed black
A proof of concept is one of the earliest forms of tinkering one will do when creating or improving a hardware design. PoC models tend to be basic form studies that teams can use to communicate the general look and feel of a product with their internal teams. They don’t need to be pretty and they don’t need to function, meaning they can be done quickly and cheaply. Someone with beginner to intermediate level 3D modeling skills and a desktop 3D printer can likely produce and iterate on an informative PoC. This is a great time to break things and move fast!
Prototype
Prototype Apple Watch and AirPod charging station 3D printed in white PLA
The prototyping stage is when hardware product development can start to get “real”. Prototypes typically require some level of functionality and aesthetic so that they can be presented to outside stakeholders like investors, engineers, manufactures, and regulators. Functional prototypes can include mechanisms such as working hinges, threading, and interlocking parts. They also should look professional in that they have smooth surfaces, specific colors, and clean embossing/engraving.
At this stage, it’s beneficial to work with professional product or industrial designers and/or engineers who are familiar with 3D design for 3D printing. Otherwise you risk ending up with design files that aren’t suitable for the intricacies of additive manufacturing. 3D printing professionals will also help you choose the optimal material for your design so that you can avoid producing parts that don’t function or overspending on an unnecessarily accurate or strong material.
Keep in mind that prototypes often require iteration so be prepared to produce multiple. You can limit the number of iterations you need by:
Iterating frequently (and cheaply) in the PoC phase.
Seeking out feedback on your PoCs, sketches, and digital designs before and during prototyping.
Leveraging product designers and engineers that are familiar with taking products to market.
Working with 3D printing companies that know how to design products for printing.
Minimum Viable Product (MVP)
MVP façade engineering part print in PA11 nylon prior to production in aluminum
This seems to be the stage that people are most likely to get “wrong”. Many people confuse an MVP with a prototype or PoC–understandable given it has the word “minimum” in its name. However, an MVP is a version of your product that you’d feel comfortable with users interacting with. It’s likely not what you’d put out on the market, but it can still be tested in a real-world setting. Product developers typically use MVPs to collect initial user feedback before they finalize the concept and begin full-scale manufacturing. Or it’s when they realize there isn’t a good market fit for their product and move onto something else, no shame there!
For this stage, 3D printing may or may not be the most viable solution for the production of certain parts in their design. If a team feels very confident in where they netted out with their prototyping, they may choose to do a low-volume production run using traditional manufacturing for their MVP. If they don’t feel ready to initiate the complex process of manufacturing or expect more iteration, they may continue to incorporate 3D printed parts. Keeping the production process local by 3D printing provides inventors with more oversight and can also increase sustainability.
Similar to prototyping, creating an MVP should be handled by professionals who know how to design and produce parts that are suitable for real-world applications. At this stage it’s also important for designers and engineers to consider how the digital models can be easily translated from 3D printing to traditional manufacturing methods like injection molding, CNC, milling, laser cutting, bending, etc. This will help save time and money when it comes to creating process-specific digital models.


